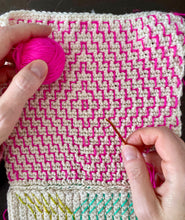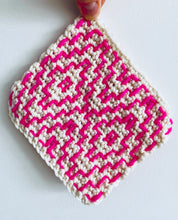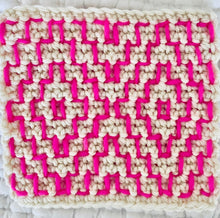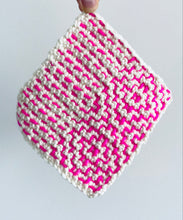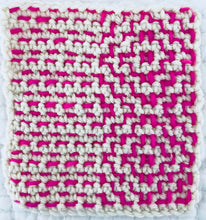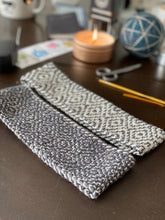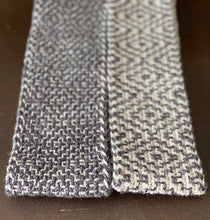
This tutorial is a demonstration of how the sashiko hitomezashi (persimmon stitch) stitch can be worked into simple crocheted fabric. The tutorial covers how to embroider the pattern in two different intervals. The “Every Row” interval requires stitching on both the right and wrong sides of your work. The “Every Other Row” interval is stitched with only the right side facing and is a bit easier to grasp. As a result, the tutorial begins with this interval to introduce the concept.
Directions for a simple crocheted swatch are included. I encourage you to make two swatches to practice both intervals. Doing so will not only be a way to study the “anatomy” of single crochet and learn the embroidery stitch pattern, but also an opportunity to experience how the drape of your crocheted piece changes as you add embroidery. Through practice, you will become comfortable balancing gauge of crochet with embroidery tension.
The tutorial also includes a pattern for an adjustable headband, which is the perfect project to practice either/both intervals of the persimmon stitch. The simple piece becomes an eye catching accessory when the sashiko is added. To create the headband, you’ll first crochet a canvas to then embroider ten flowers. After you finish the embroidery, you will crochet a stretchy band that is easily customized to ensure a comfortable fit.
Yarn
Fingering weight
120 yds/110 m/30g of MC to crochet the headband
25 yds/23 m/5g of CC for the embroidery
Little Fox Yarns Vixen
Raven’s Wing
Gossamer
Tools
US C (2.75 mm) crochet hook
Darning needle
Removable stitch marker
Gauge
6 sts and 8 rows / inch (2.5 cm)
Single Crochet (US terminology)
Sizes
O/S – but easily adjustable.
Abbreviations
CC contrast color
ch chain
hdc blo half double crochet, back loop only
MC main color
RS right side
sc single crochet
sk skip stitch
sp space
sts stitches
WS wrong side


